Welcome to my current obsession … I wasn’t hit with all the Ohora semi-cured nail strips advertisements as most were, so I’m probably late to the craze. It wasn’t until I discovered the many designs that I realised that semi-cured nail wraps might be a good option.
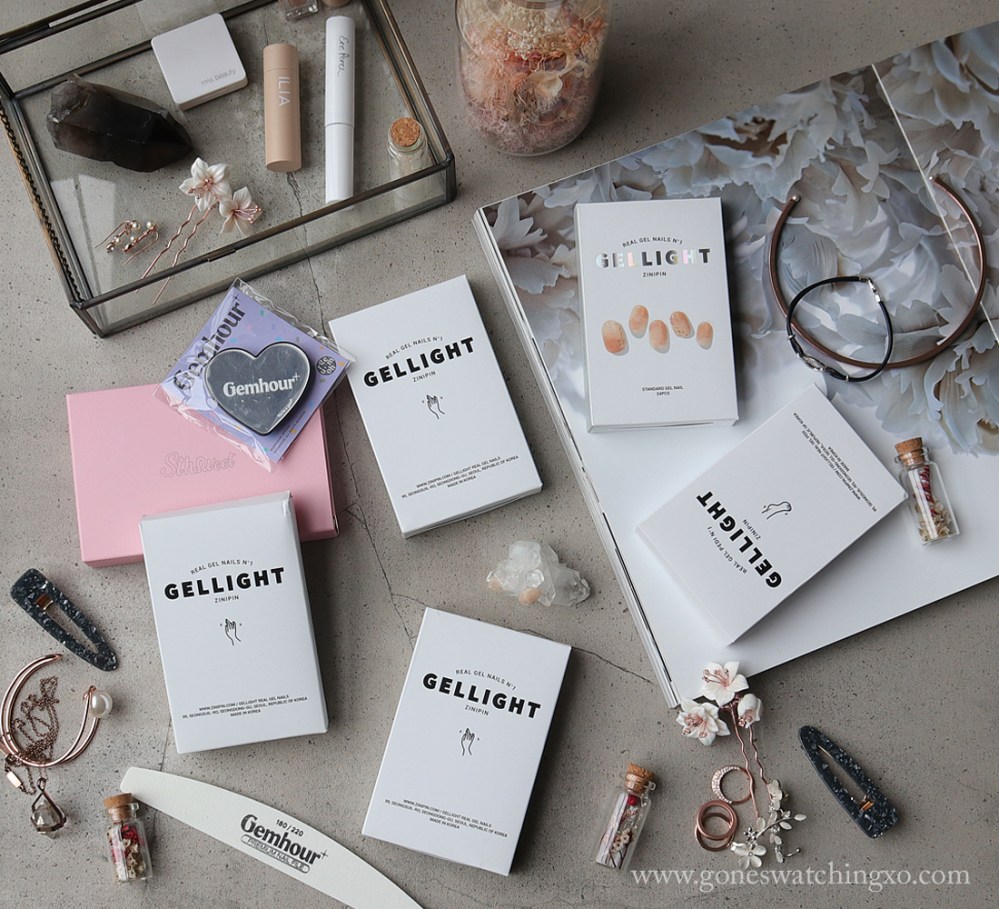
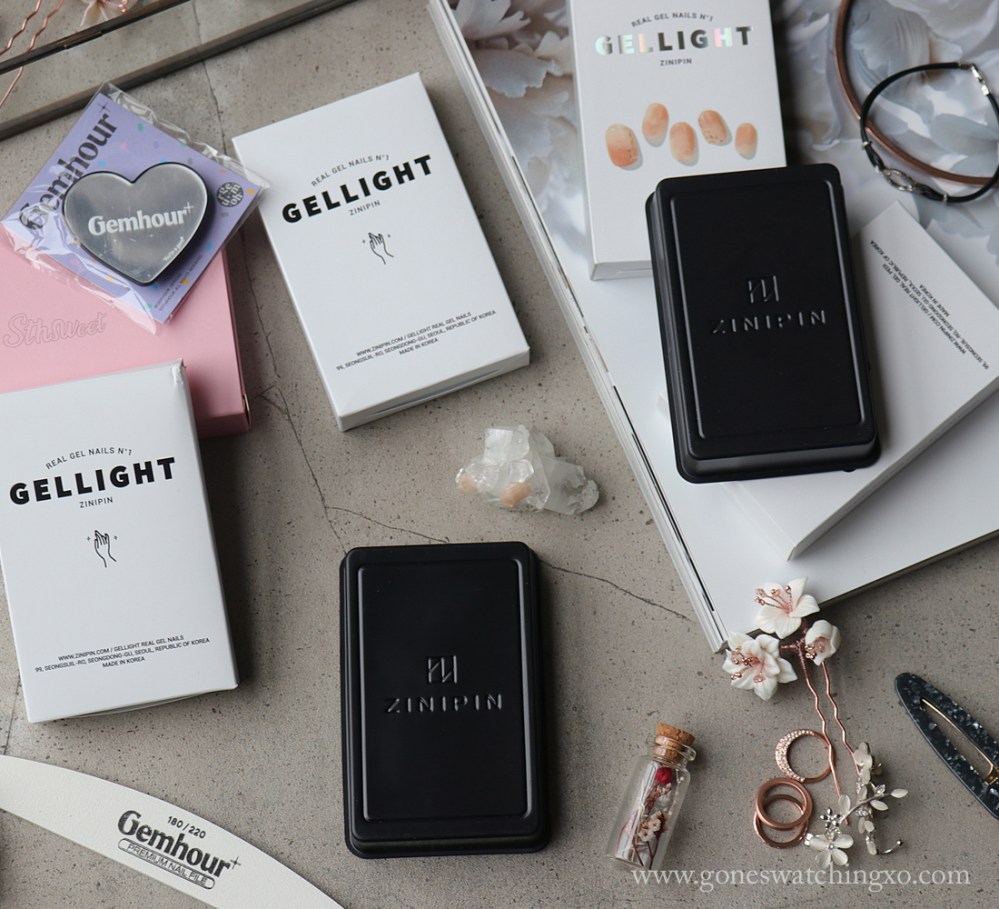
I have never tried gel nails, so using the UV lamp was something I was worried about. I also had no idea if they had a smell. After hours of searching for different designs from different brands and I finally settled on Zinipin. They have many different nail art options, from translucent syrup, to glitter or nail art designs.
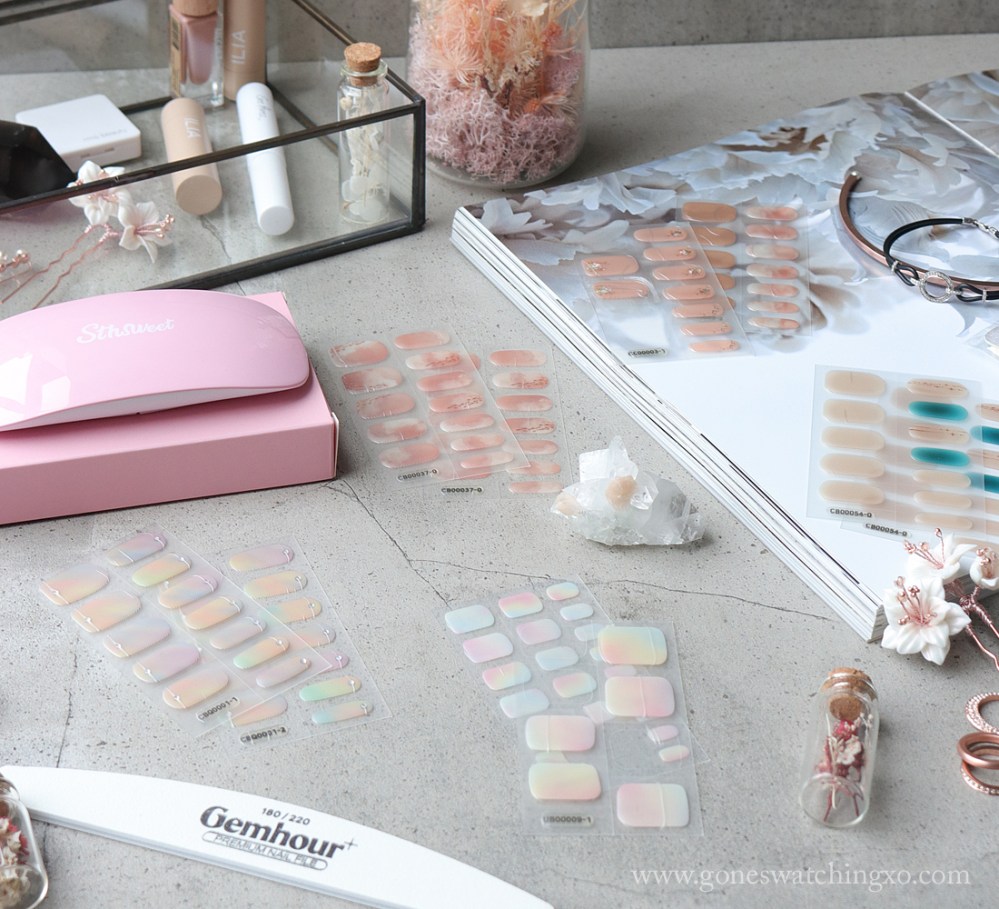
Zinipin are based in the Republic of Korea (South Korea) and their prices range from 9,900 원 (won) up to 13,900 원 (won). Some sets only have two pages of wraps, others have 3 and the ones with gems or more intricate designs will also be more expensive. I bought mine from Gemhour with prices ranging from $16.00 USD to $22.00 USD.
Application
Put simply: you prep your nails by cleaning up the cuticles, filing to size and drying them with the provided alcohol wipe. Chose the correct nail strip for them, peel off the protective cover, then the nail strip. Line up the strip along your cuticle. Make sure you leave a slight gap and then stick it down. Continue to smooth it across the nail. Once it’s in place, use the wooden stick to ensure all the edges are down properly. Trim excess and cure at least twice underneath the UV lamp. If needed cure again and once it’s hard, file down the excess.
Sounds easy right? First things first, my nails have a very strong c curve and my nail beds are quite long. I file them into a square shape. If I kept my nails as long as I used to, these would not be long enough. I tend to keep them a lot shorter these days so it’s not such a big issue. The biggest sticker suits my thumb nails perfectly. The next two sizes both suit my index and pointed finger, but they don’t suit my cuticle edge unless I turn them around. I’m pretty sure you’re not supposed to do this because it’s thinner on that edge. It’s also an issue if they have patterns, or gems designed to go next to the cuticle. You’ll be able to see what I’m talking about with some of the designs I bought. It also suits them better because my nails are thinner at the cuticles and then wider on the tips. These strips are slightly tapered at the free edge.
My next issue is that whatever size I think suits my nails, I have to go one larger. You can stretch them slightly, but the more you work with them, the more you risk damaging them. It’s best to place them on one edge of my nail and hold it in place and stretch it across. If you try and stretch them prior to this, you can lose some of the stickiness on the edges and then it doesn’t adhere properly. This brings me to my next issue.
I’m always worried about adjusting them too much. I have to do one nail at a time, because if I leave them too long without curing it, they unstick, especially around the edges. Even when I think I have it stuck down enough, some one them manage to not stay properly. I have watched many videos though where people do their whole hand and then cure, but that just doesn’t work for me.
I also have to turn my nails to each side and cure them at least twice. All in all, this means I cure them at least 6 times. I normally do one last cure of all of them at the end.
Finally, try to remember to cover up the nail sheet in between peeling them off and curing. If you leave them out in direct sun, they’ll start to harden. If you accidentally leave them too close to your UV lamp, they’ll also start to cure!
You don’t need a top coat to end up with a gel finish, but one would absolutely help as it can cover any edges that aren’t quite stuck down properly. I notice this most at the cuticle. Even when I think I pushed it down enough, sometimes there’s a slight gap. Whenever I run my hand through my hair it catches! I’m happy to wear them without a top coat because once they’re cured they’re hard and shiny. I just have to mind what I”m doing with my hands.

Wear
Overall I love how these feel. They add a nice bulk, hardness and thickness to your nails without being distracting. I’ve had long, strong nails for majority of my life, so I don’t avoid using them during every day tasks. This probably doesn’t help these stickers last as long as they could. I find that they have very slight lifting on the corners of the free edge at about a week. Slight small chips also start appearing on the sides around this time too. My pinky finger lifts the most quickly, possibly because of the strong c curve.
I could have tried to wear this set for a few more days, but I did some gardening and ended up with dirt underneath them. The chips and corners lifting I could handle but not the dirtiness.
Removal
They say to put a few drops of their remover oil on each nail, let sit for a few minutes and then using a wood stick, gently pull up each sticker. If you have acetone, you can mix 1 part acetone, 1 part any cuticle oil. The first time, I simply pulled them off. Mostly to see if it was possible and what the result would be. It does feel like damage is being done, but once it’s up, it’s surprisingly fine. To remove them now, I just put on a few drops of jojoba oil and let that sit for a few minutes and then I slowly work them off, bit by bit. If it’s still stuck down, I just keep adding more oil and let it settle into the glue.
Designs
Lovesome
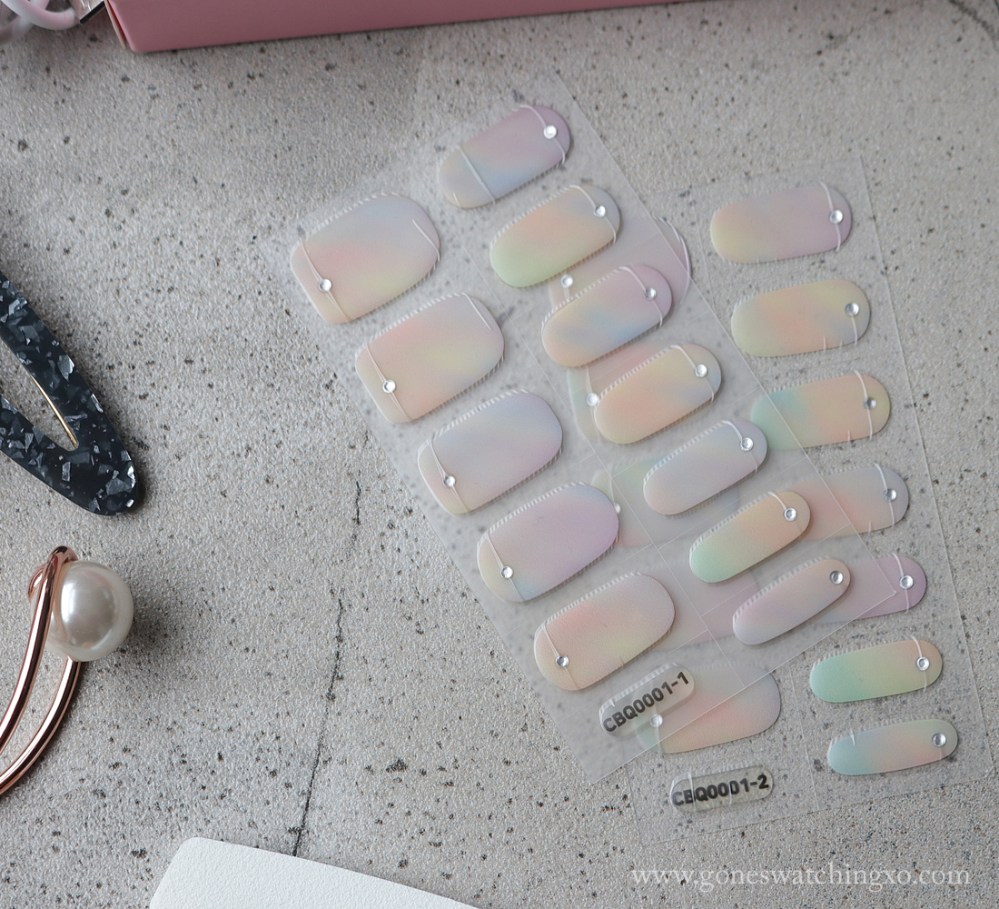
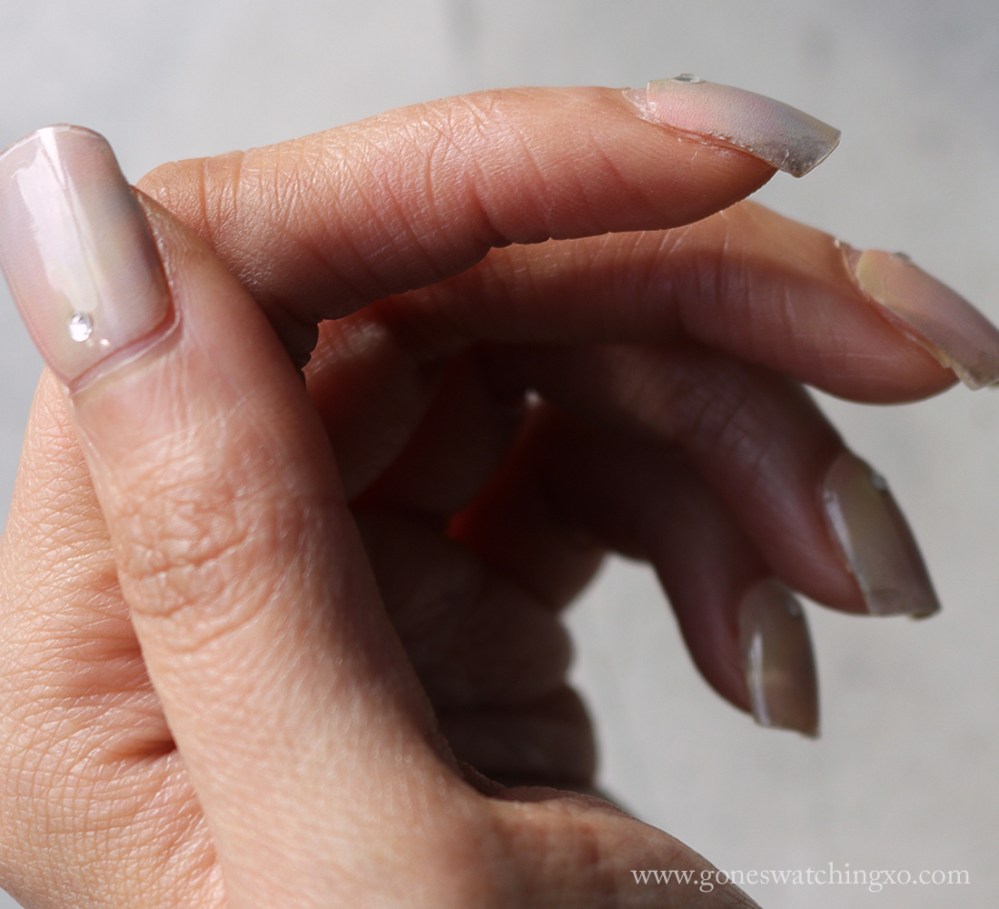
I love the subtle pastel pink, green, blue and purple. The gem is not bothersome at all as it’s embedded into the gel very well. You don’t always notice it, but in the right light there is a holographic reflect. You can see it shifting when you move your nails, which is really cool. This set I applied them how you’re supposed to, so you can see that they don’t fit my pointer and index finger along the cuticle. If I’d turned these around, then I wouldn’t be able to have the gem on all fingers.

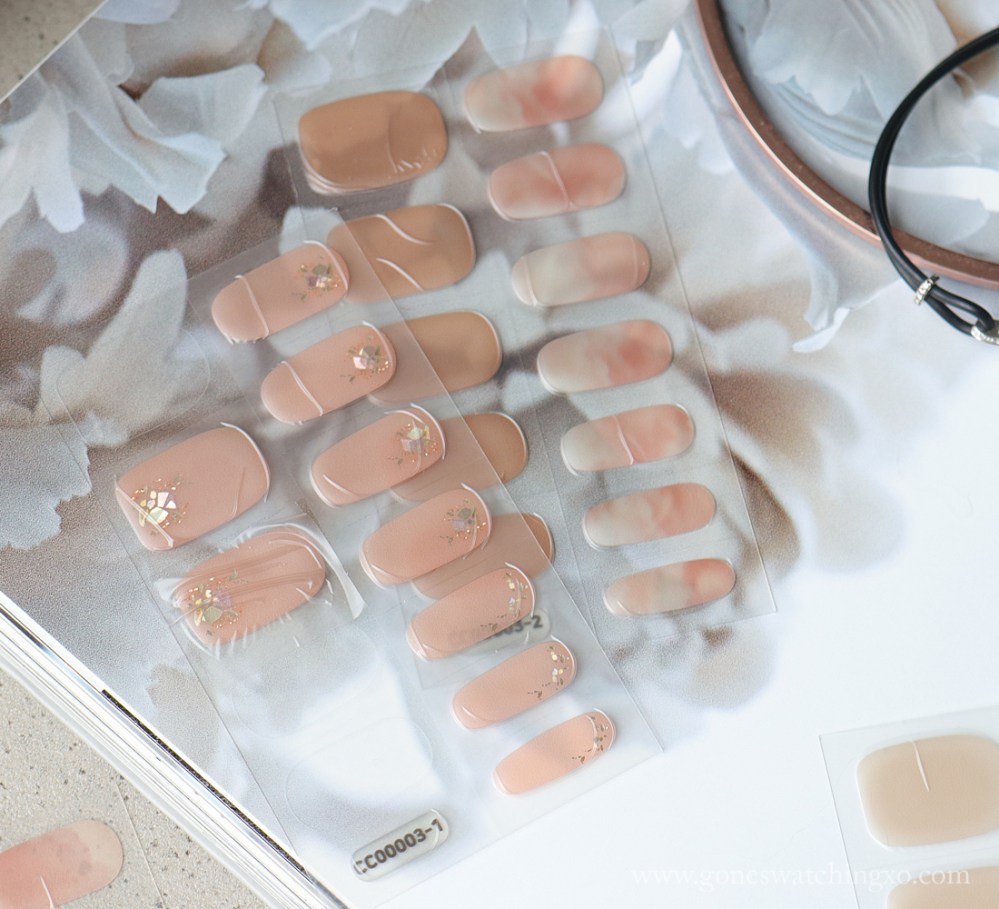
Elegant Beige
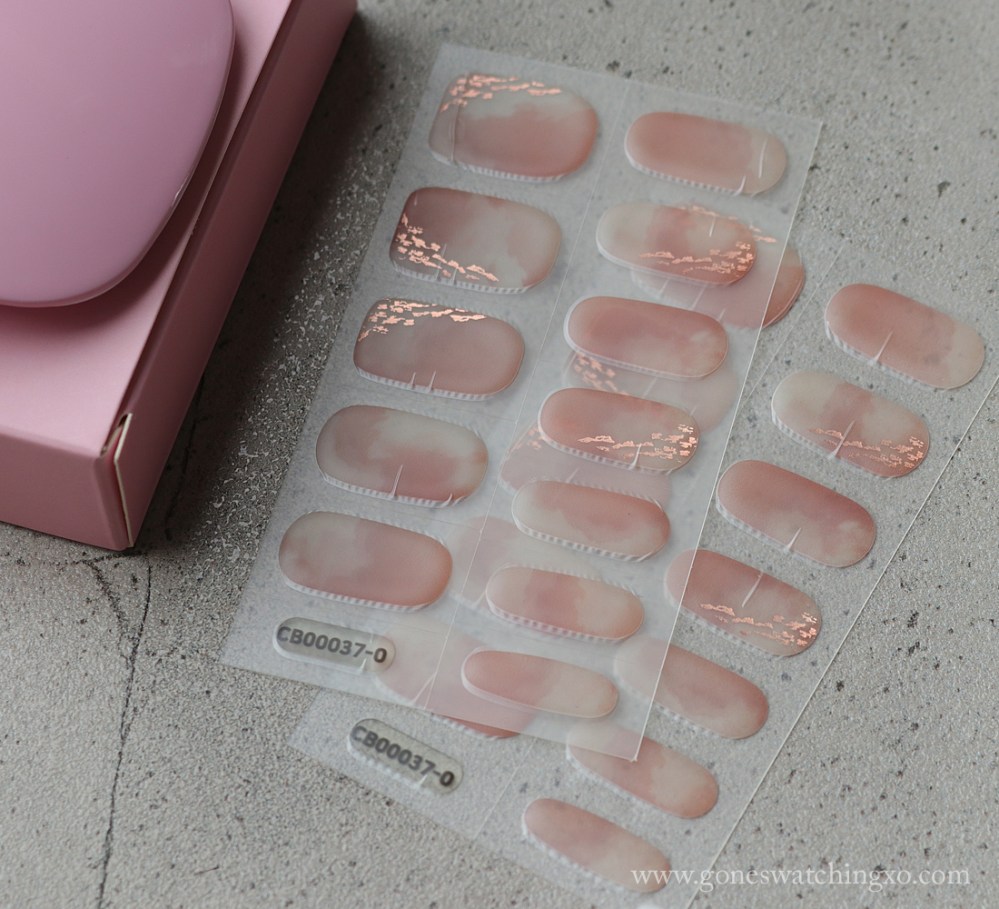
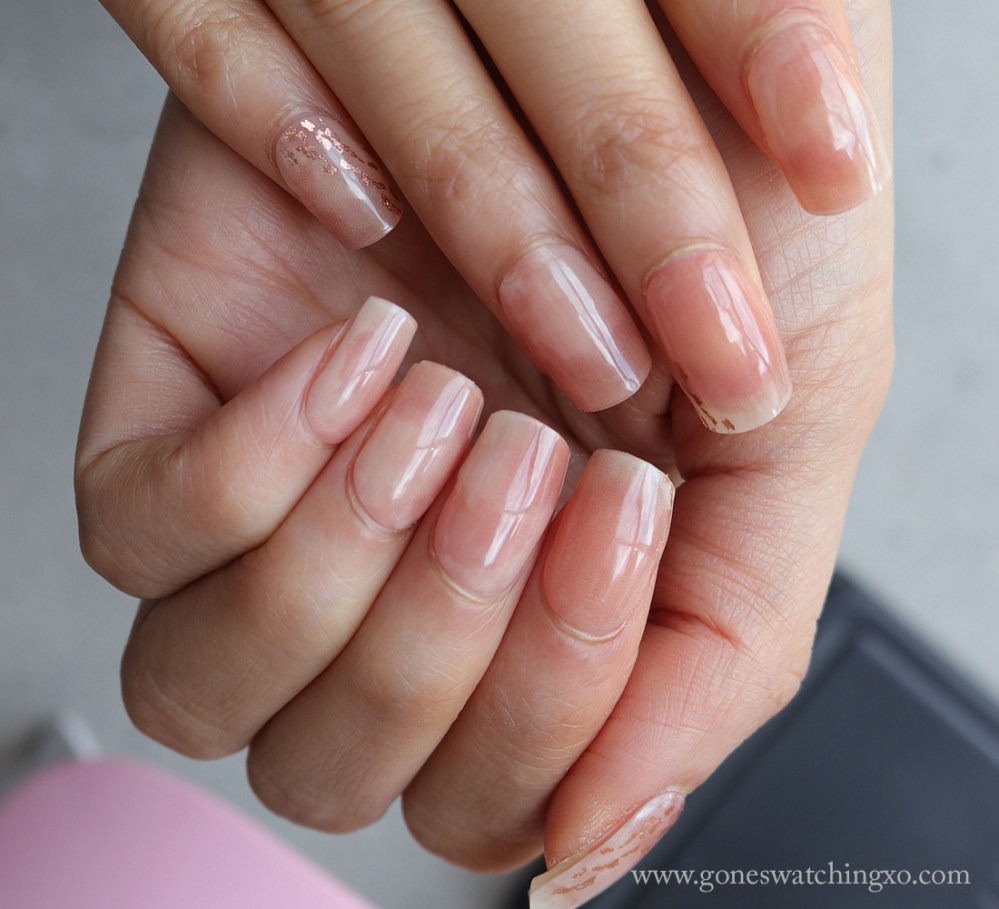
I chose these because I loved the soft pink and cream gradient marble. The rose gold accents are also pretty. The gradient nails are also featured in the Rose Daisy set. For this set, I turned around the strips for my pointer and index fingers. This makes them fit along the cuticle perfectly, it just means that the gold accent is going in the opposite direction for some of my nails.
Rose Daisy
I absolutely love the holographic and glitter detailing in the accent nails. The translucent pink is also so pretty and subtle. I wore these for my wedding and loved them. Unfortunately I wasn’t able to take photos of these on because I actually broke one during the rush of getting ready!
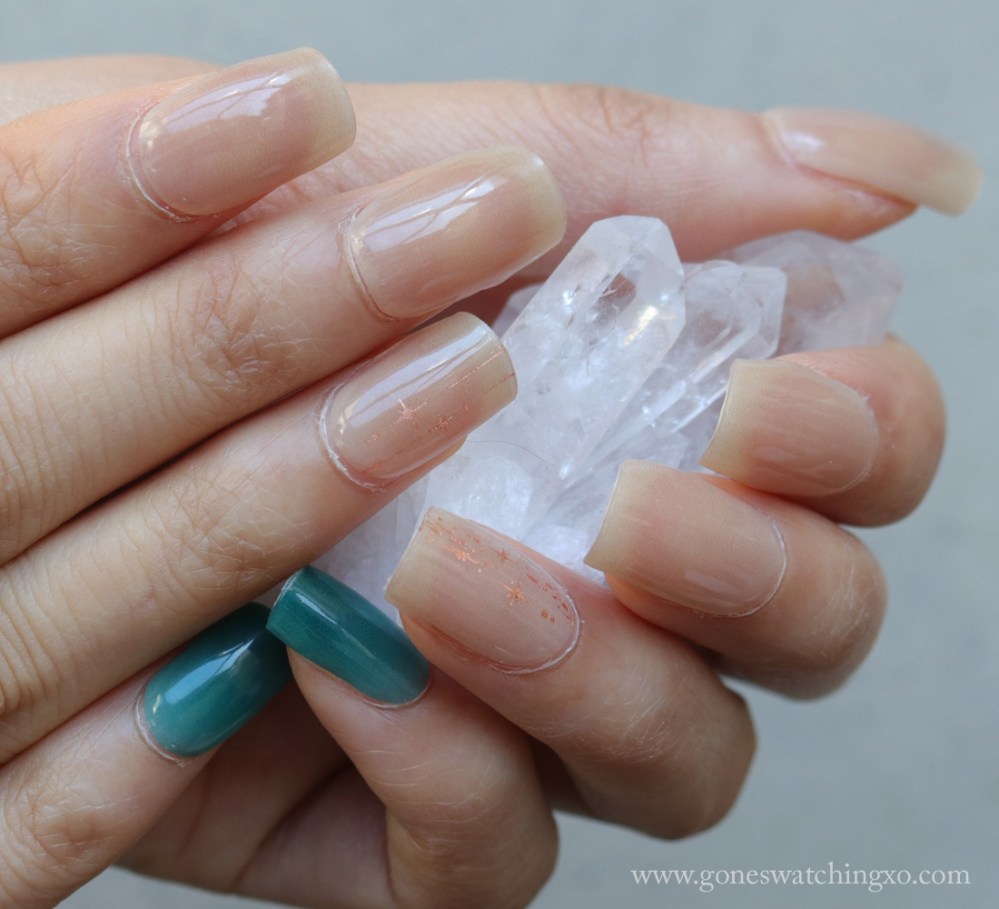
Monstera
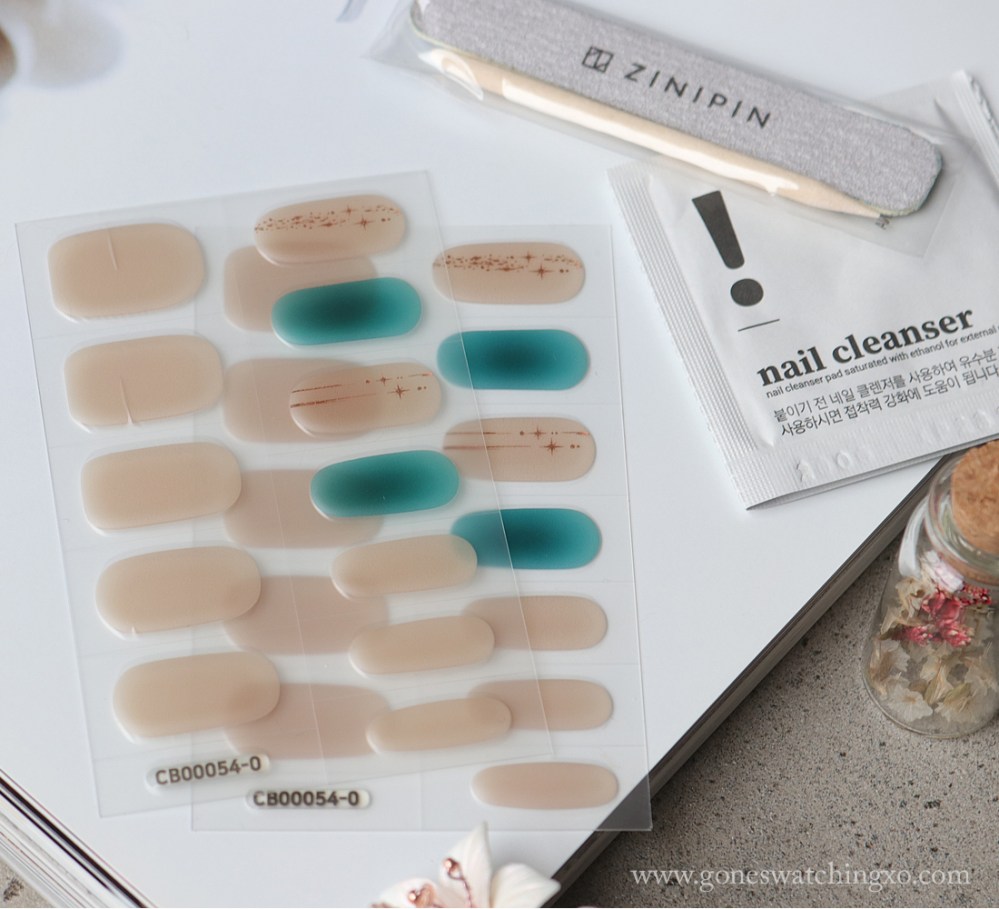
Most of the nails I picked were light pink so I liked trying a different colour. Monstera is a really simple nude beige, with rose gold accents and teal syrup. I actually think I prefer the pinker tones of Rose Daisy & Elegant Beight, even though I don’t normally.
Mystique Shell (Pedicure)
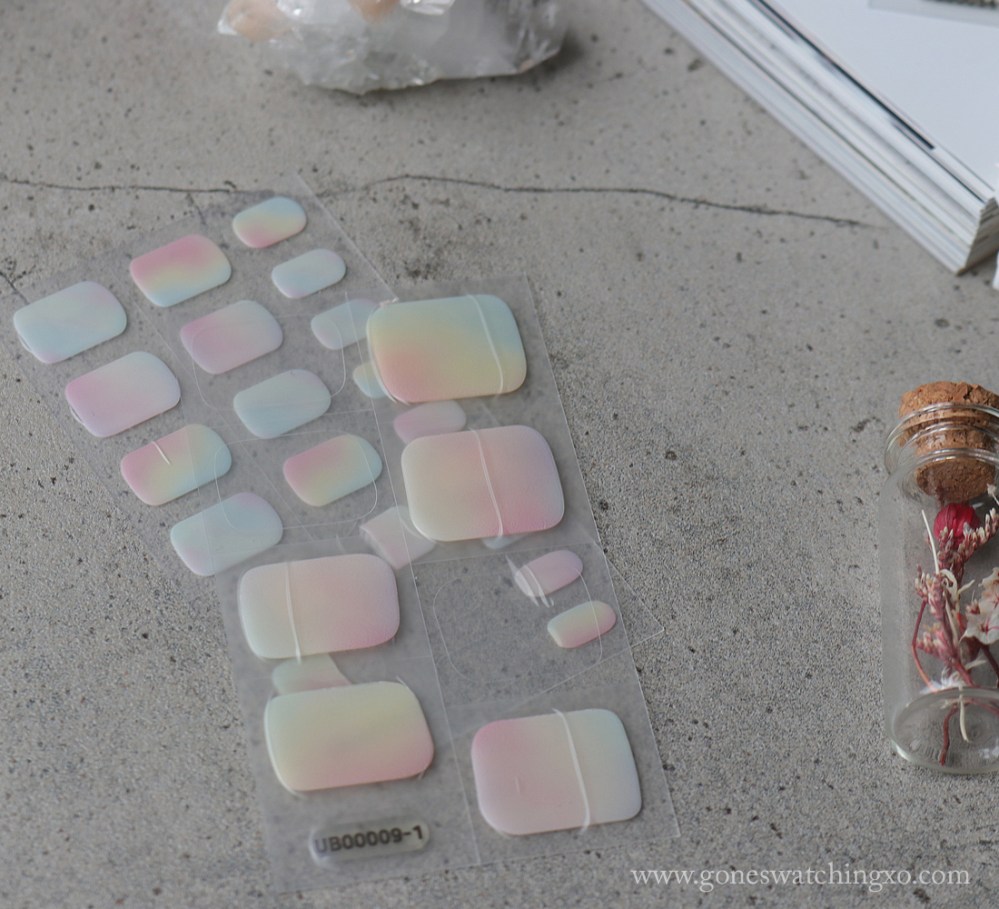
I really liked the colour scheme of these and I found putting these on easier than doing my hands. My only issue is that I don’t wear a lot of open toed shoes and they came off easier because my shoes were pushing on them. I probably wouldn’t buy pedicure ones again, unless I had an event or reason to show them off.
Final Word
I say obsession only because I have been stalking Instagram posts, any Youtube or blog reviews I can find to help me decide whether semi-cured nail strips would work for me. That was before I even started searching through all the designs! I was more interested in the gelly/translucent style too. I know it’s a reason some people don’t like them, but I actually think it helps to avoid the obvious sticker look. These give a very satisfying thickness and hardness to your nails. I also love all the designs I chose. They harden completely and as long as you’ve stuck them down perfectly, it sticks shockingly well. Once they’re down, they are hard to pull off. Even though they have great adhesion, it does not damage the nail too badly after one use. After multiple uses though, they do roughen up my nails a little, but otherwise, don’t leave any damage, nor too much glue. I also didn’t have to use a special remover. If you are worried about this, then they do sell their own.
I do think it’s worth mentioning that they are nail stickers underneath a clear gel layer. I somehow managed to accidentally peel them apart from each other once. Make sure you peel it off from the side you’ll be cutting off. I don’t know if other brands are the same, but they still work so much better than nail stickers in my opinion. I don’t experience the infuriating wrinkling, they set hard and they don’t peel up at the corners. They stay looking good much longer too (keep in mind I don’t have a good top coat for nail stickers). They also don’t look as obvious. There definitely might be some designs that do, but the ones I’ve picked look a more seamless than the nail stickers I’ve tried. This might be due to the gel giving it some depth, or the gelly effect.
Another thing is, I have snapped portions off, (instances that would normally mean doom for my natural nail) and it hasn’t damaged them at all. At all. As in no chips or layers peeled off. That’s very impressive if you ask me!
They’re definitely not as easy as stick, cure and go but my own nail shape works against me. I have to be very mindful that every edge has adhered properly before and during curing. I’m not sure if thinner designs would be better for me. I have seen reviews that mention Zinipin are on the thicker side.
Once they do start lifting, it’s very tempting to remove them as soon as possible. I’ve lost hair if I run my hand through and they catch on the stickers. If I’ve done them well they last me at least a week. Some sets seem to last longer than others. Some seem easier to apply too. I honestly don’t know if that’s down to me; either my application or my daily habits.

My final, final thing to mention is the UV lamp. It’s well documented that tanning in UV sunbeds or solariums are extremely harmful to your health and I’m pretty sure they’re banned in most of Australia. As this lamp is only 6V, I honestly don’t know if they’ve done studies on such a small power output and whether it has the same damaging effects. If you are truly worried, I’d recommend wearing fingerless gloves (you don’t need to go to the trouble of buying UV blocking gloves), or what I do. I place a piece of paper or card over my fingers so it blocks some of the light. This obviously doesn’t give you absolute guaranteed protection, but you’ll have to weigh the pros and cons yourself.
It took me so long to research and find reviews before I finally bought these. If I can improve sticking them down along the edges of my nails, they’ll be perfect. I currently have my eye on many more designs and I may have already bought more.