I started looking into nail polish again once I started planning all the extras to organise for my up-coming wedding. Honestly, I wouldn’t be too bothered if I went with bare nails for the day, but the urge of painting my nails has slowly crept up on me. Couple that with some (ahem) binged nail art tutorials on Youtube during lockdown and it’s really taken hold.

No matter the urge, if I hadn’t been able to find odourless nail polish, I would have to be content with staying bare. Luckily for me it seems that there are actually many more companies than I expected bringing out odourless and non-toxic nail polish. If you want a full list, you can find them here:
My List of Water Based, Peelable & Odourless Non-Toxic Nail Polish
This post is about an Australian brand I stumbled upon by sheer luck, Carlo Rista. I just want to quickly mention why I’ve included the numbers with the colour names. They have an option of choosing 5 polishes for $45.95 AUD. You just add the corresponding numbers with the shades in the shipping notes. The only thing that’s slightly annoying about this is that they’ve only numbered the shades, rather than also including their names. It isn’t too much of a hassle, just make sure you have the right number, as a few shades look similar. Otherwise, they retail for $12.95 AUD individually.
Ingredients
66% Aqua, Mineral pigments, Polyurethane resin.
I want anyone reading this to keep in mind that I haven’t used nail polish for almost 8 years. I can only go off of my experiences from when I was a young adult. It took me a couple of tries to figure out the best way to apply. I honestly don’t know if they’re thicker than traditional nail polish.
After a few tries, here’s what I’ve found. One layer won’t peel off nicely, rather you’ll be picking at bits and pieces. At least two layers will wear best but still peel off. I find if you leave it for more than 2 days it’ll peel off in a satisfying layer, but it will damage your nails a bit.

Give it a good full 5-10 minutes to dry at least before doing a second layer. Safe to touch at 15-20 minutes. You can speed up drying by applying really thin layers, but I find it doesn’t look as good.
It won’t be secure until about 20-30 minutes. You know what I mean, that safe spot where you aren’t terrified of accidentally bumping your nails! After that I find I can go about my business but really rough wear and tear will dent it. Just keep in mind that the more layers, the longer it’ll take for it to ‘set’ hard. I find that it’ll take a good 6-7 hours for 3 layers to be set.

Another quick tip: instead of risking smudging your freshly painted nails by touching them, you can hold your nails up to your mouth and exhale slowing (think of if you’re trying to fog up a mirror). The dry polish will mattify temporarily, but wet polish will stay shiny! You can check as many times as you want too, it won’t affect your manicure.
If you really want to minimize any damage, I apply a nice thick balm to my nails first and then wait a few minutes for it to absorb. I then paint a minimum 3 layers on and let them dry fully. This application method means that the nail polish can’t adhere properly to the nail bed, but instead will almost pop off in one clean peel. The draw back to this is that they can pop off with regular wear (and probably without warning!).
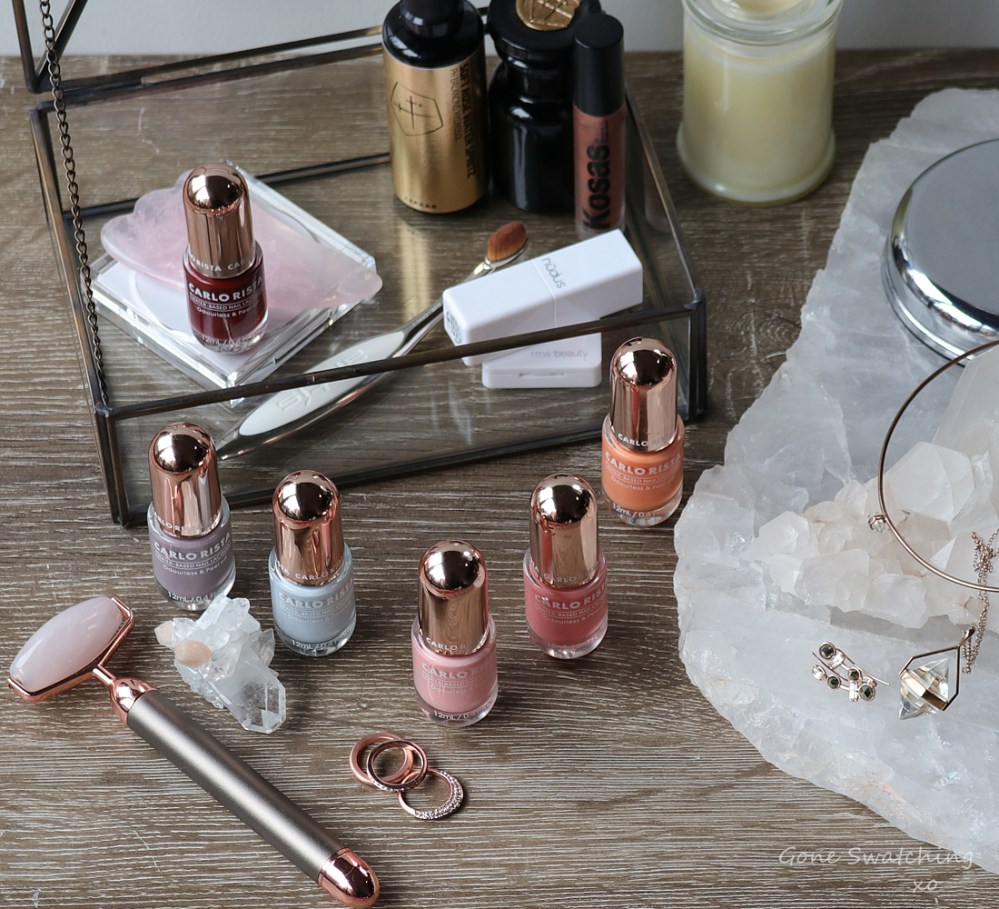
Swatches
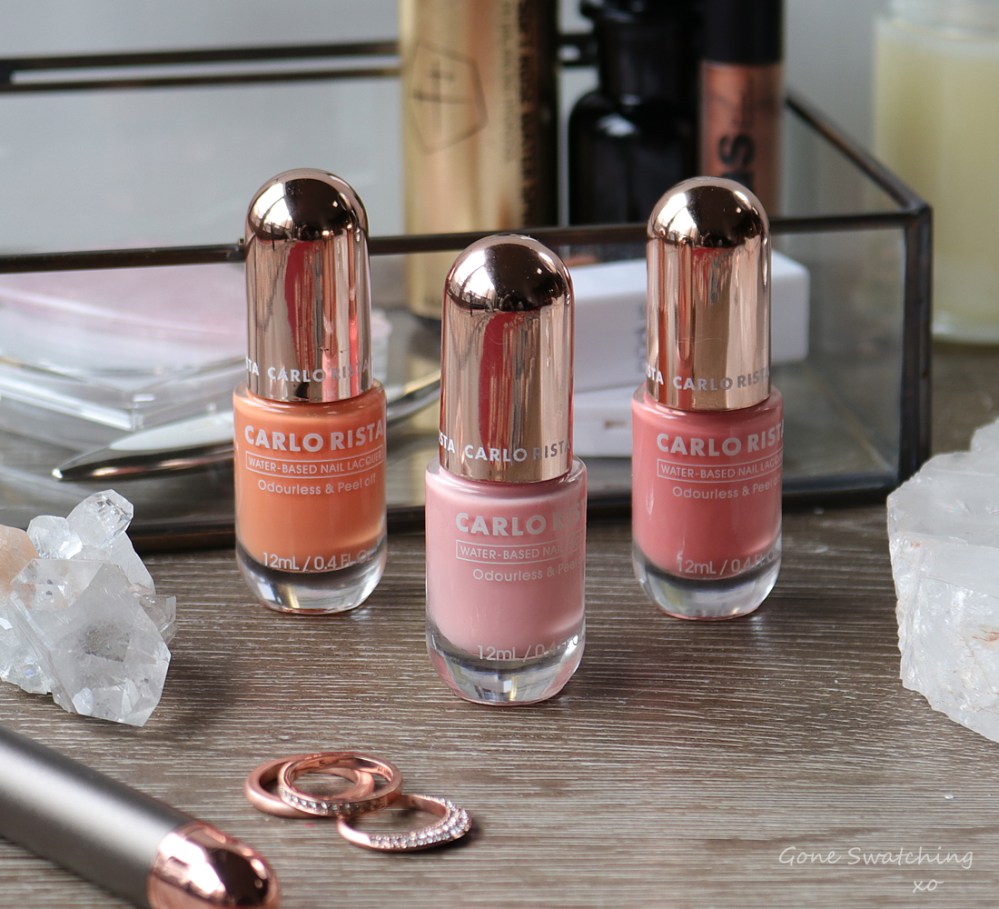
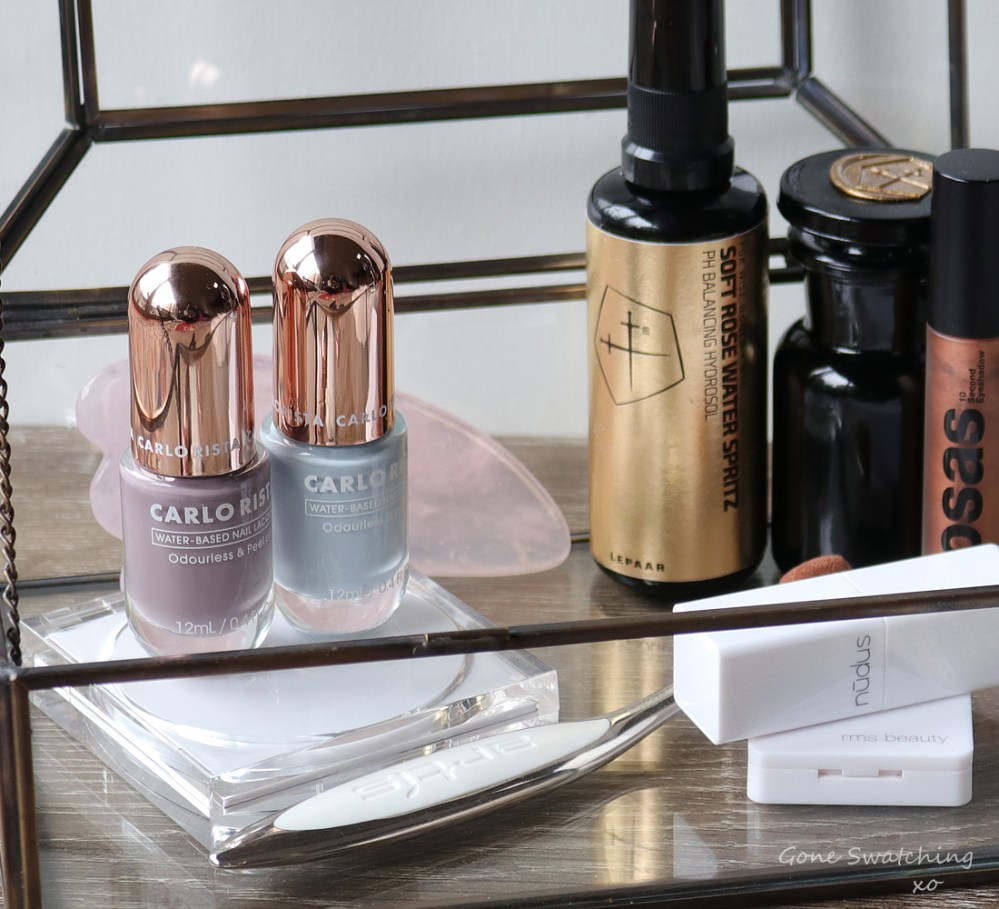
Lavender Blush (18), Salmon Pink (11), Light Orange (12), Light Steel Blue (16), Light Slate Grey (17) & Brick Red (03).
Lavender Blush (18)
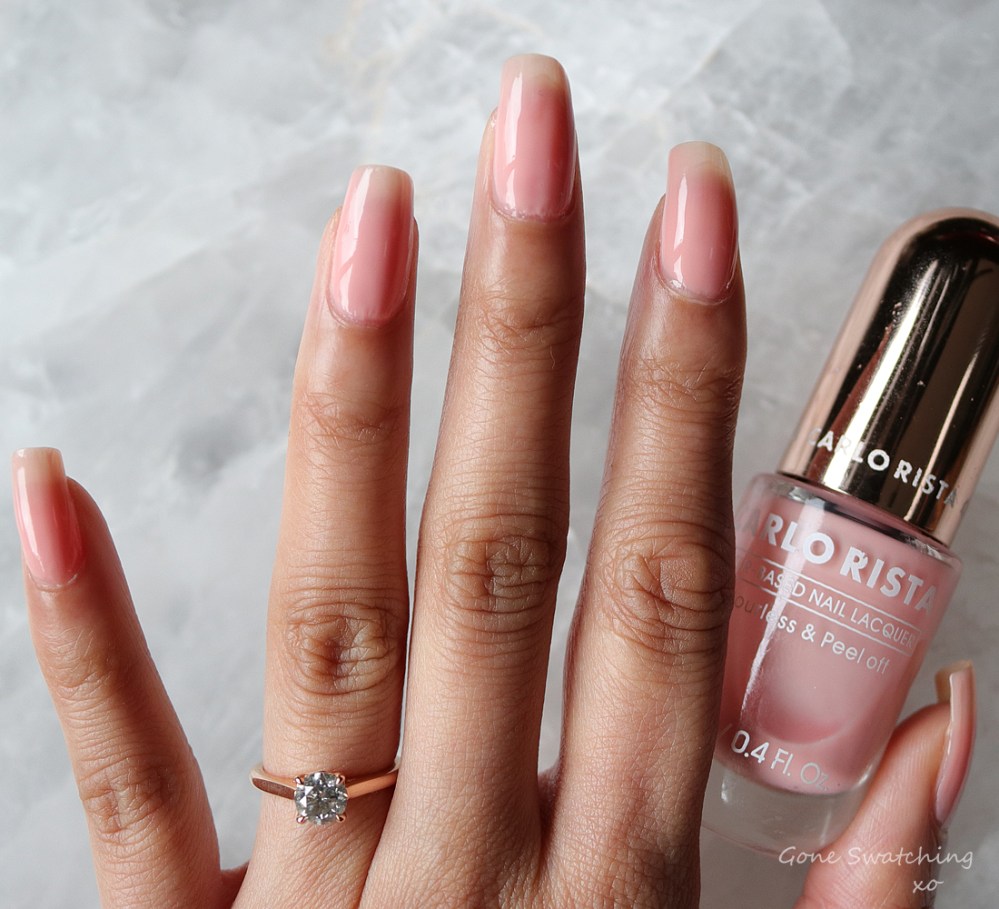
It starts off as sheer, soft pink that gives your nail a tint that make look shiny and healthy, then builds up to a translucent pastel baby pink.
Salmon Pink (11)
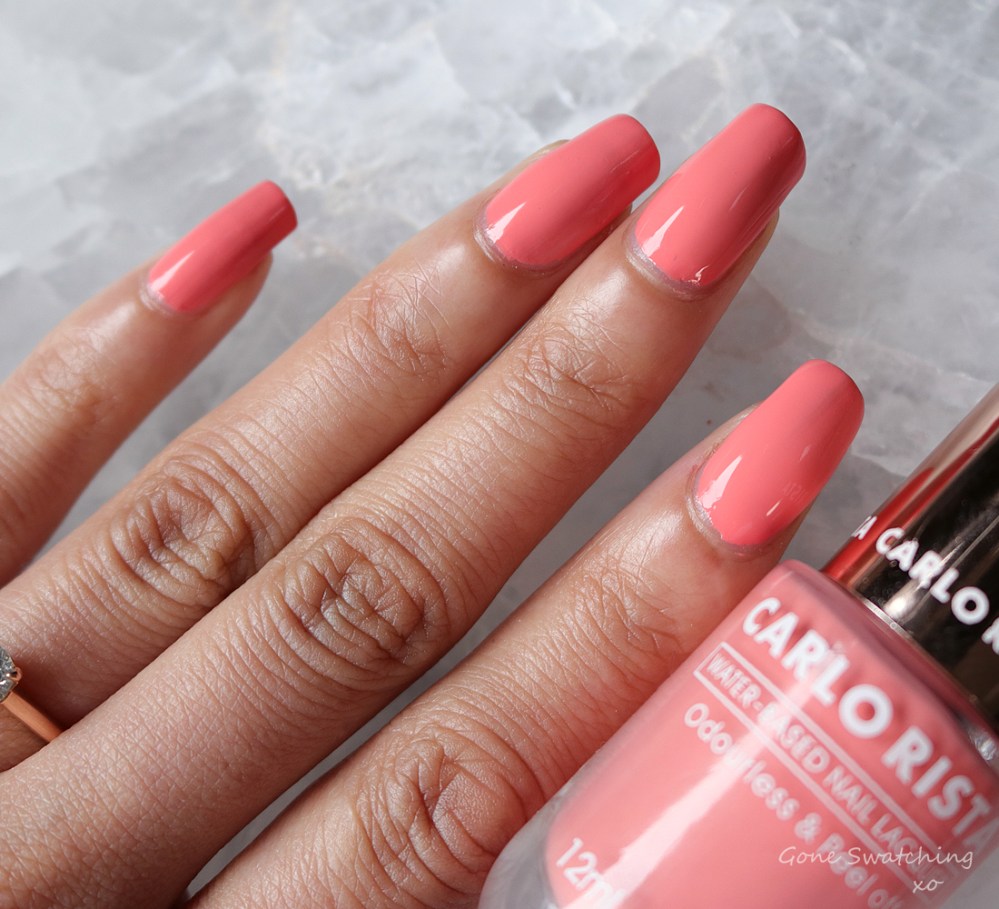
This one comes out more neon than what you’d expect from the muted salmon pink in the bottle. It’s semi opaque with one layer and it only takes 2 for it to be fully opaque.
Light Orange (12)

One coat is a semi sheer bright orange, but it will be opaque in two coats.
Light Steel Blue (16)
A pastel blue that’s opaque in two coats, but looks best with three.
Light Slate Grey (17)
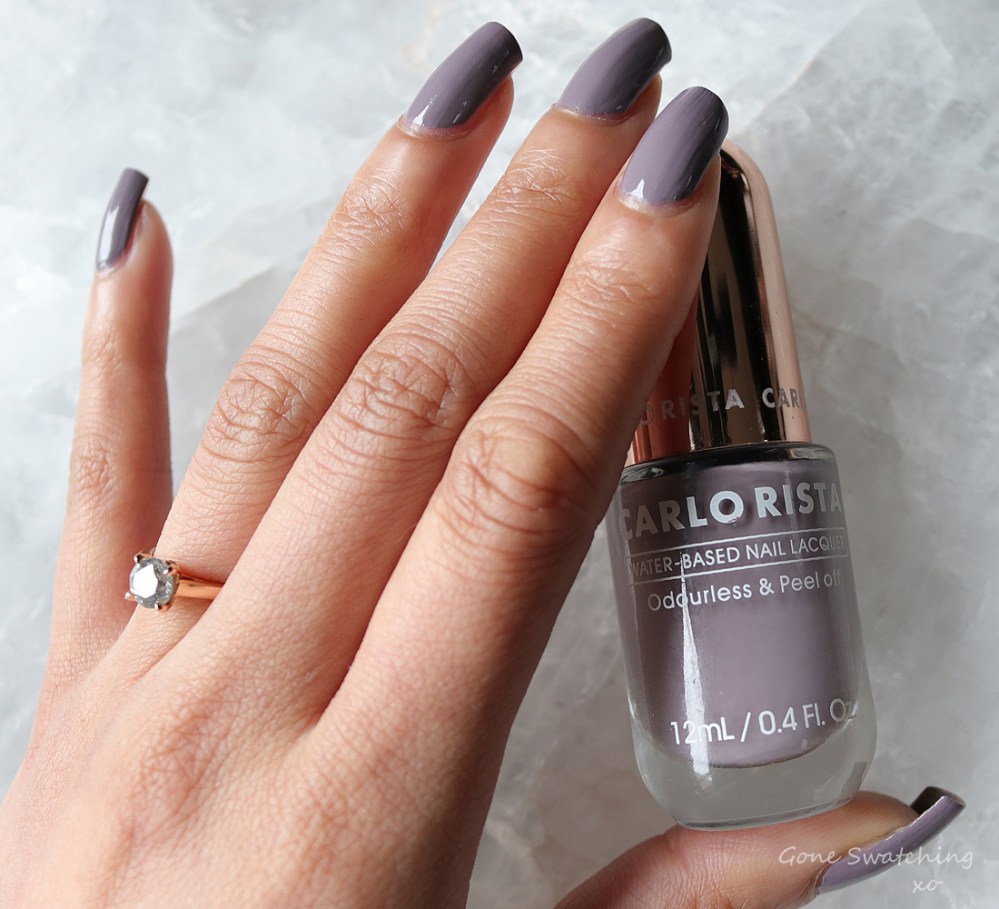
Opaque with 1 coat, slate grey, with a touch of mauve. It does look better with at least two layers though. The formula settles into my nails if I only do one coat.
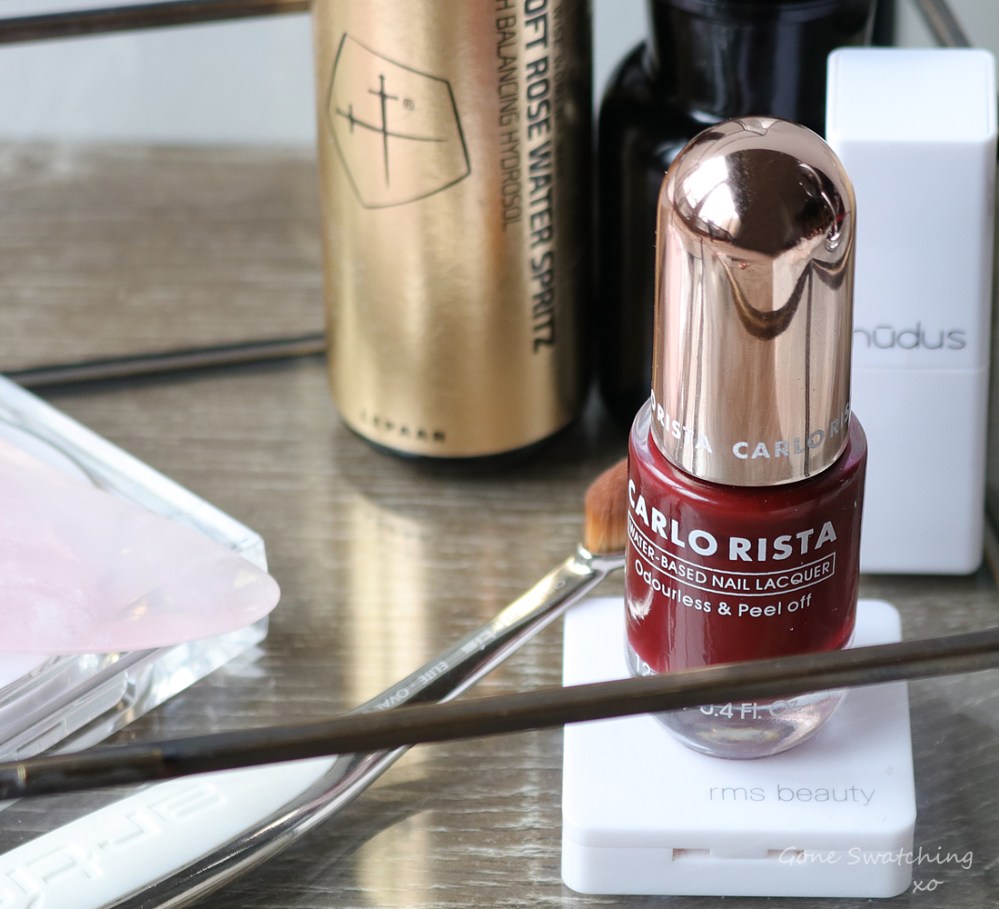
Brick Red (03)
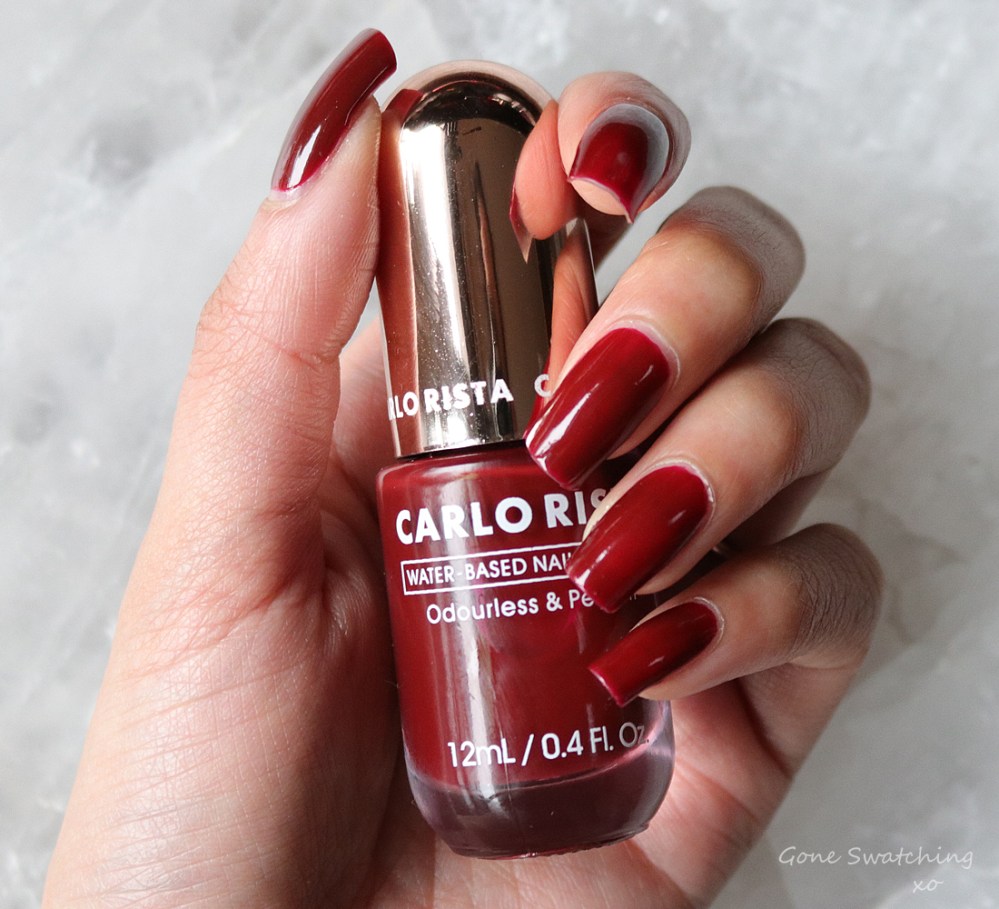
Applied sheerly, it is a bright pink based red, but it looks amazing layered with 2 or 3 coats. It also looks patchy with only one layer. I love the deep oxblood shade. 4 shades turns it into a deeper, deep brick red. This one stains so keep that in mind.
Final Word
I’m quite surprised by these, mostly for the finish and how similar they look to traditional nail polish. However, these will not be for you if you’re after pristine nails for a minimum of 2 weeks. The corners do come up quite easily, but you can minimize this with a clear top coat. However if you enjoy applying polish yourself and having the ability to change it easily, they’re actually kind of fantastic. I love that I can peel them up with minimal damage.
Do they damage your nail bed? A little yes. Through good genes, supplements and general care of my hands I normally have smoother, shinier nails but after peeling this off, it has dulled them. However, it hasn’t weakened them at all, so that along with no odour, makes them a great option.
Find them here: Official Website

